Since CS2 is a first-person shooter, achieving excellence heavily depends on your aim, and that depends on your choice of crosshair settings. To help you with that, we’ll explore all the crosshair settings in CS2. Keep reading to learn more about optimizing your crosshair for superior accuracy and precision.
CS2 Crosshair Settings Explained
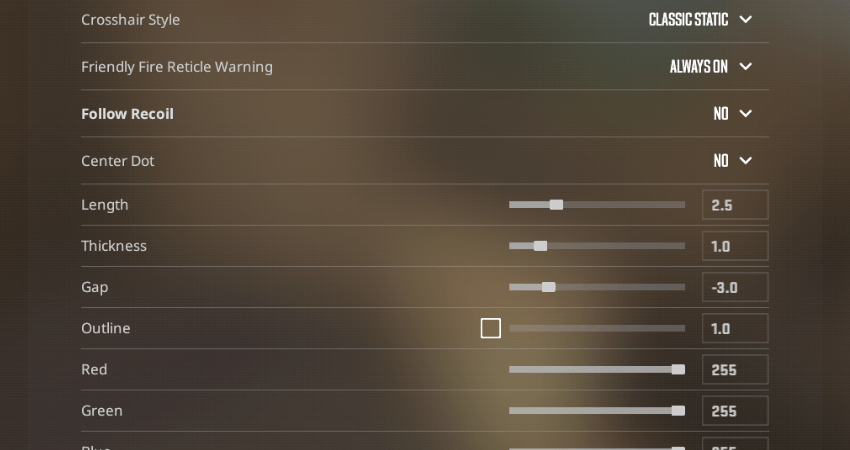
Crosshair Style: There are a total of three crosshair styles available. The Classic option expands your crosshair as you move or fire. The Classic Static option keeps the crosshair static regardless of what you are doing. Finally, the Legacy option expands the crosshair only when you are shooting. We recommend keeping it on the Classic Static option. You can try using the Classic option if you are practicing counter-strafing.
Friendly Fire Reticle Warning: This setting creates a warning icon while aiming at teammates. Most players keep it off because it’s distracting. We recommend doing the same since the character model difference is enough to prevent shooting your teammates.
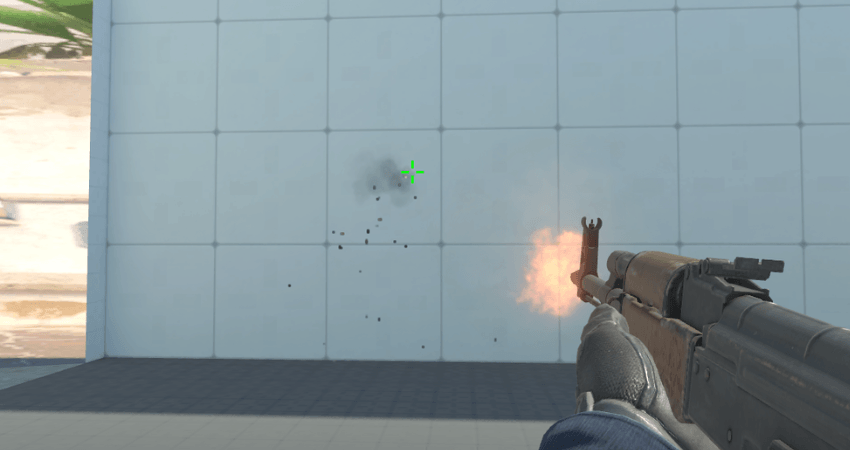
Follow Recoil: Follow Rocoil is a new feature that came to Counter-Strike with CS2. Enabling it turns your crosshair dynamic, where it starts moving on your screen, positioning itself where the next bullet will land based on the recoil of your weapon. Keep in mind that it doesn’t consider the movement error. While very few CS2 players use this setting, you can try it to see if it helps.
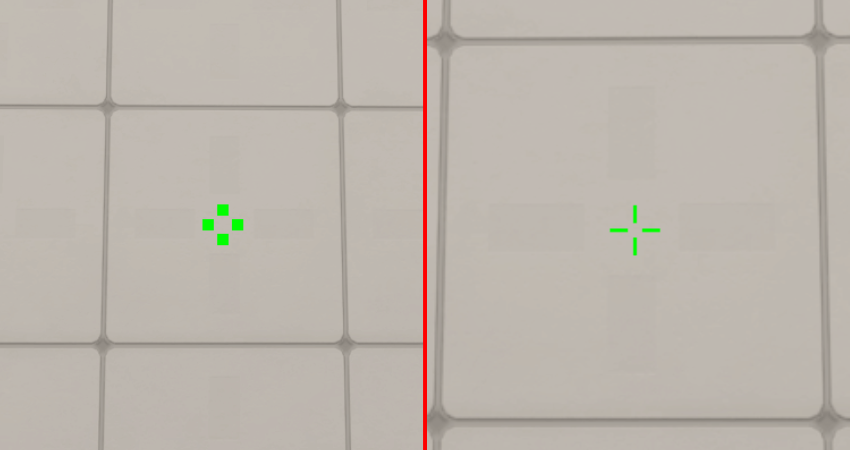
Center Dot: This option creates a dot in the center of your crosshair. There is a divide in the CS2 community for this setting, with a roughly 50-50 split between players who turn this on and those who don’t.
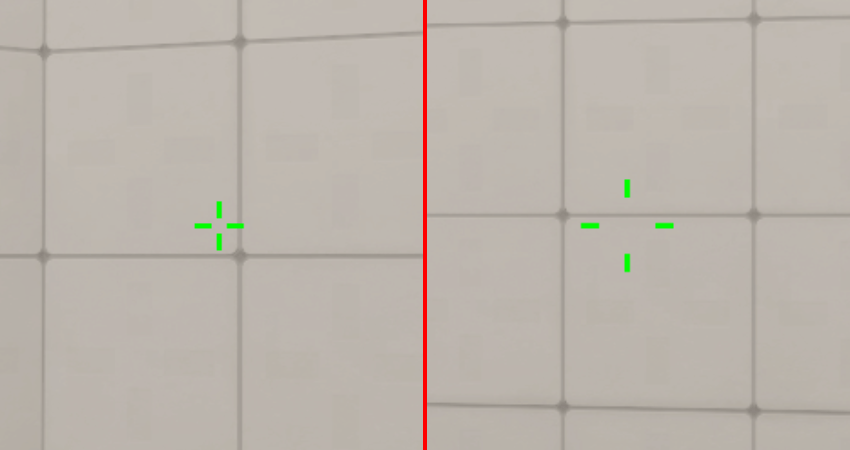
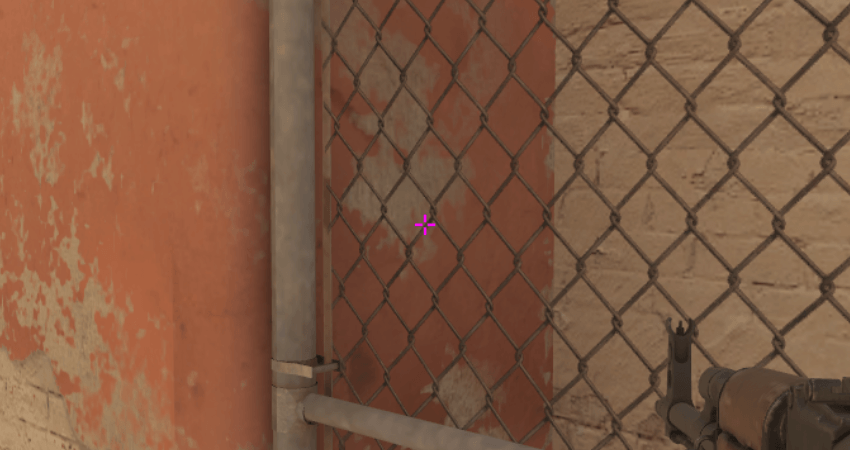
Length, Thickness, Gap: As the names suggest, these settings allow you to change the length of the four lines that make up the crosshair, their thickness, and the gap at their center. We recommend playing around with these settings till you end up with a crosshair that isn’t hard to see but small enough that it doesn’t completely cover enemy heads from a distance.
Outline: This setting is for the black outline surrounding the four crosshair lines. According to what we have observed within the community, most players either turn this off or keep the outlines super thin.
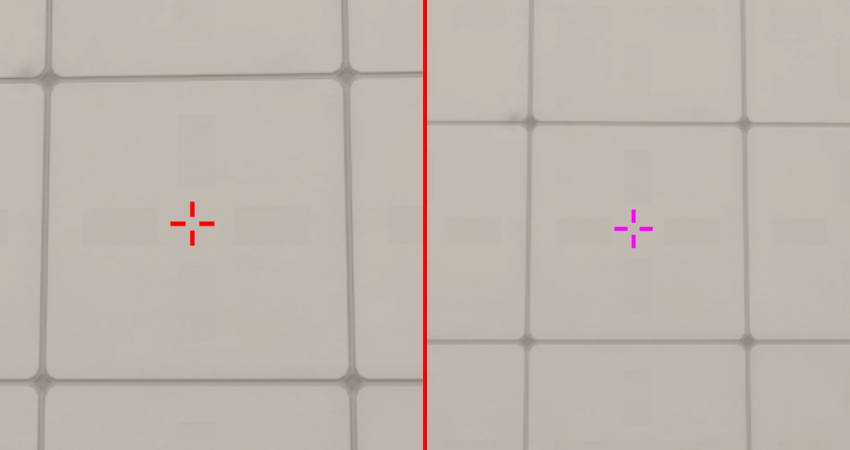
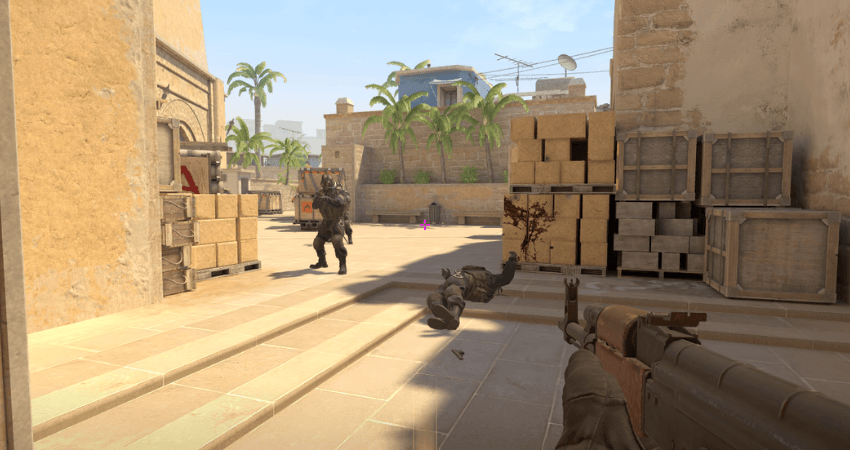
Red, Green, Blue: These sliders are also self-explanatory. Move them to adjust the color of your crosshair. Green and Megenta are the most common options.
Alpha: The Alpha slider allows players to adjust the transparency of the crosshair. You can add a bit of Alpha if you use a large crosshair but we recommend almost zero if you use a small one.
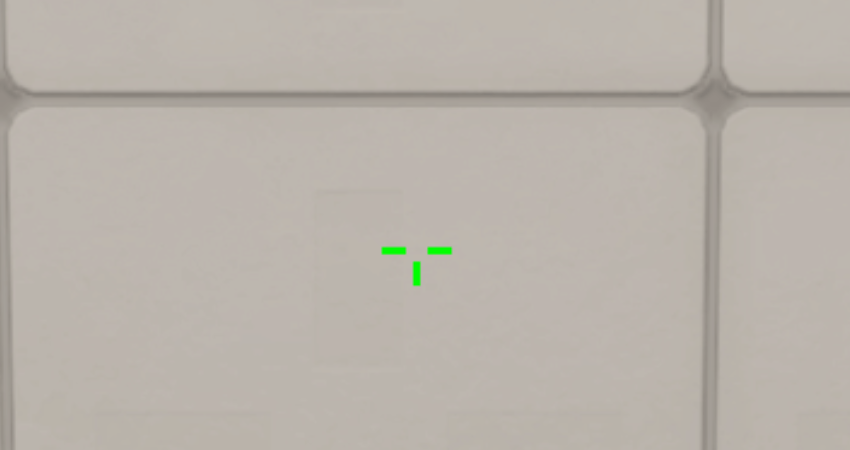
T Style: This setting allows you to remove the top line of the crosshair, turning it into the shape of the letter “T.” Almost no one in the CS2 community uses this, and we don’t recommend using it either. But you can still test it out if you prefer the look.
Deployed Weapon Gap: With this option, the gap in the center of the crosshair changes based on the weapon you are holding. However, this is also one of those settings that not many CS2 players use, and we also don’t recommend turning it on.
Show Player Crosshairs: This setting allows you to see what crosshairs your teammates are using as you start spectating them after dying. You should always keep this setting on because you never know when you’ll see a nice crosshair you would want to copy.
The Best Crosshair Settings
Now you have a decent understanding of what each crosshair setting in CS2 does. However, finding the best crosshair settings is something we can’t do for you. That’s because crosshair is a subjective gameplay element that highly depends on personal preferences, which is also why almost every CS2 player has a different crosshair.
You’ll have to go through trial and error, play around with the settings, and finalize the crosshair you like the best. Even after that, we recommend playing with the crosshair for about ten days, re-evaluating your performance, and making changes if needed. Fortunately, you can use our recommendations from above as a reference point.
To help make things easier for you, here is a step-by-step guide to an actionable approach to finding the perfect crosshair:
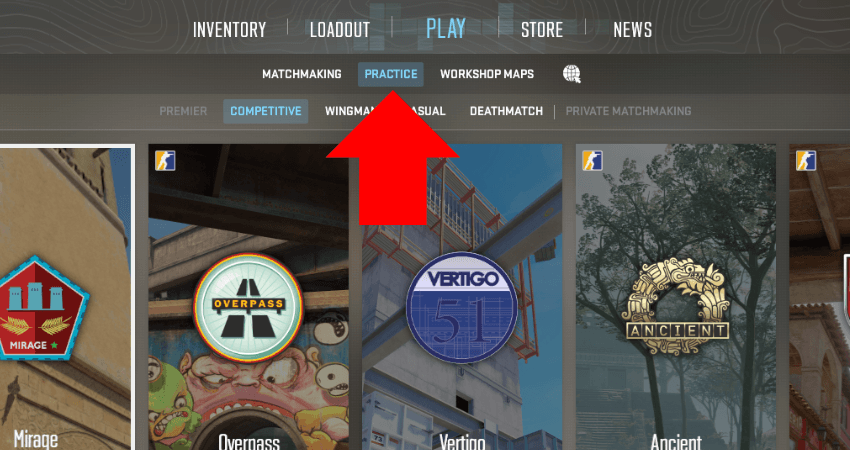
- Step 1: Launch CS2 and enter a practice match.
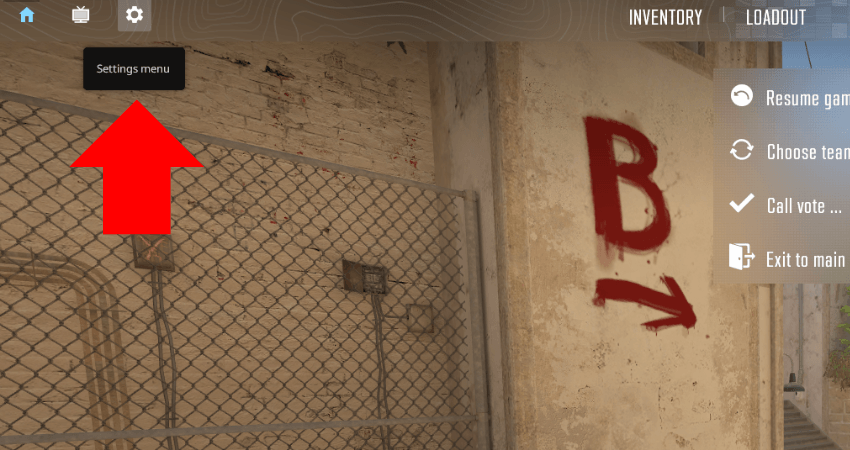
- Step 2: Press “Esc” and go to the settings menu.
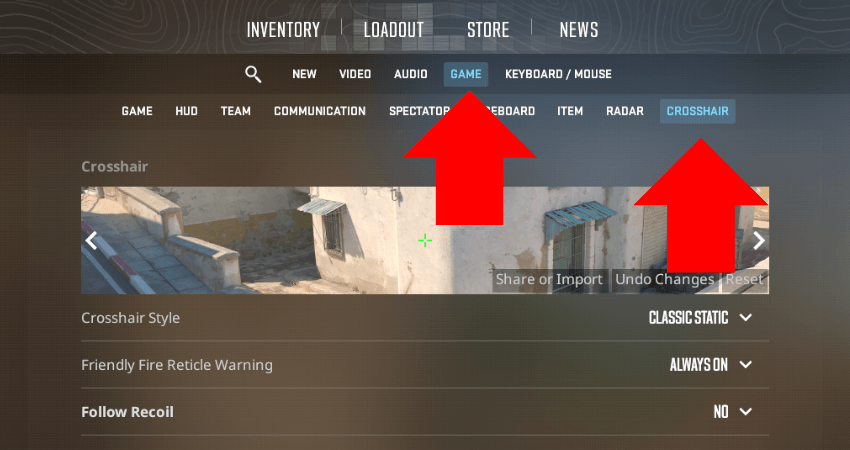
- Step 3: Click “Game” and then the “Crosshair” tab.
- Step 4: Go through each setting and see how it affects your crosshair.
- Step 5: Set each option according to what you prefer.
- Step 6: Play for ten days and evaluate the crosshair’s feel.
- Step 7: Repeat the process until you find the ideal crosshair.
Note: Check out our guide on how to kick bots in CS2 so they don’t disrupt your process.
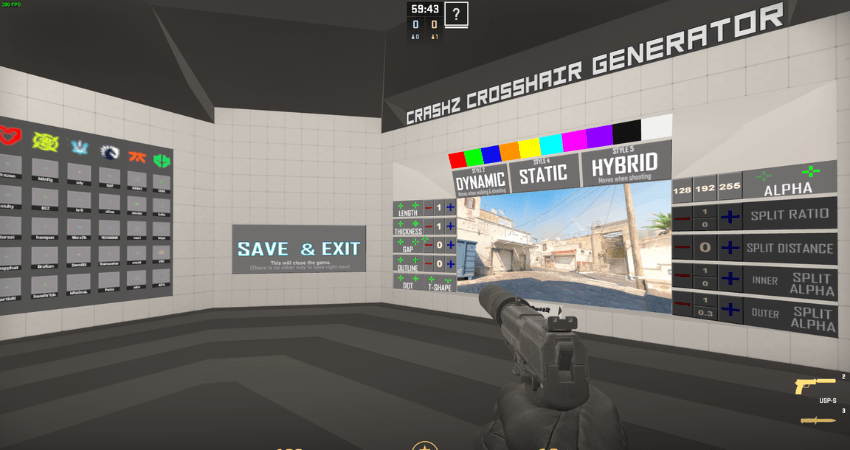
If you want to avoid going back and forth to the crosshair settings, you can use the Crashz workshop map. It’s a custom map where you can make changes to your crosshair by shooting at some panels, allowing you to observe those changes in real-time without going into the settings menu. Here is a step-by-step guide on how to do that.
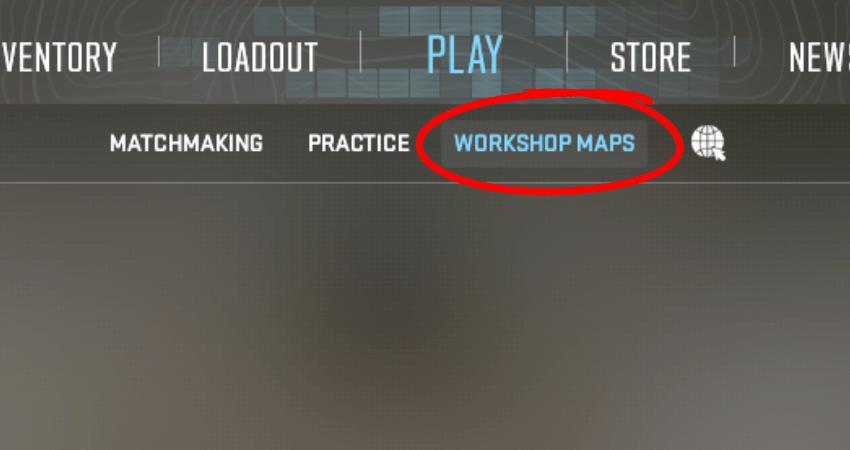
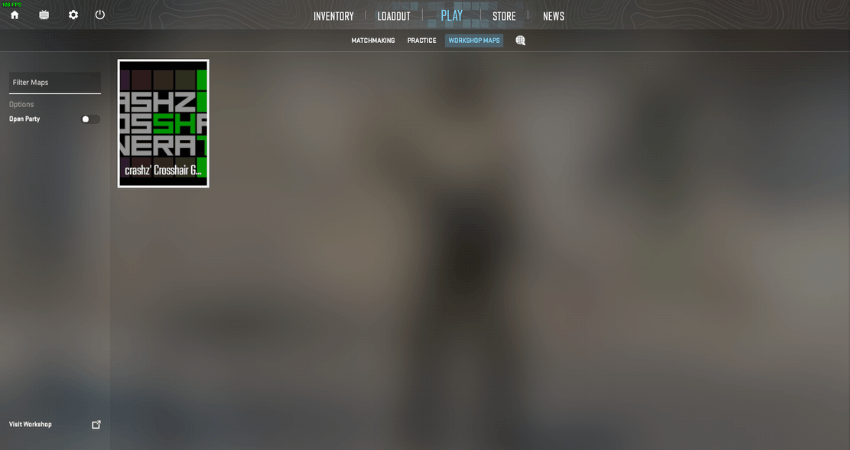
- Step 1: Click “Play” and then the “WORKSHOP MAPS” option.
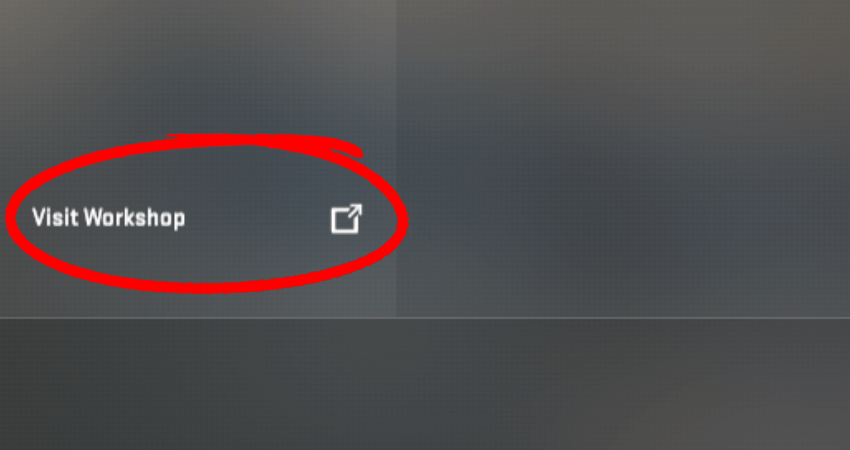
- Step 2: Click the “Visit Workshop” icon in the lower left section.
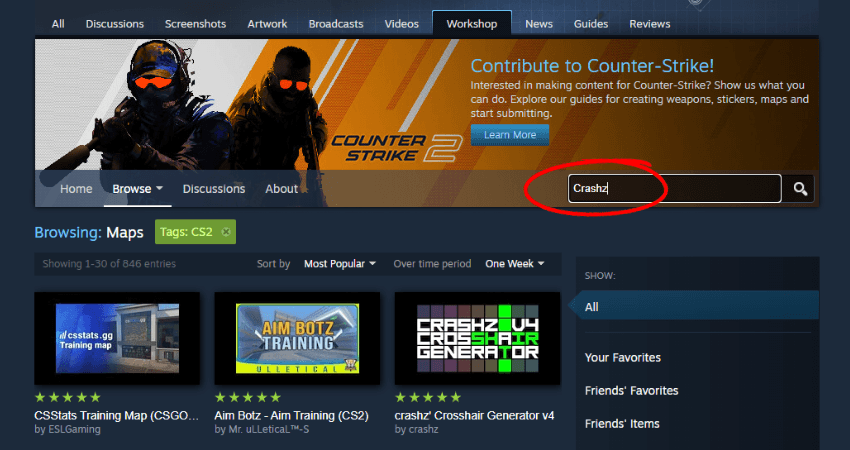
- Step 3: Search “Crashz” in the search bar.
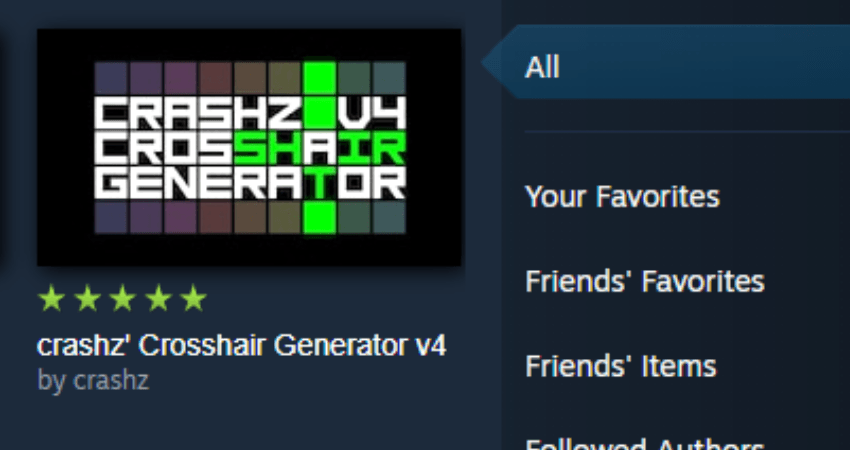
- Step 4: Click on “crashz’ Crosshair Generator v4.”

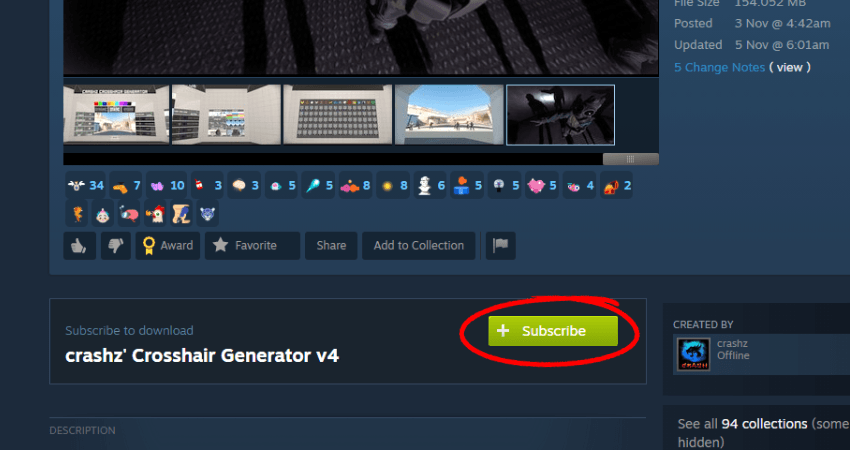
- Step 5: Click the “Subscribe” button.
- Step 6: Press the “Esc” key to return to CS2. The “Crashz” map will be added to the “Workshop Maps” section.
- Step 7: Select the map and start the match. (Select Casual when prompted)
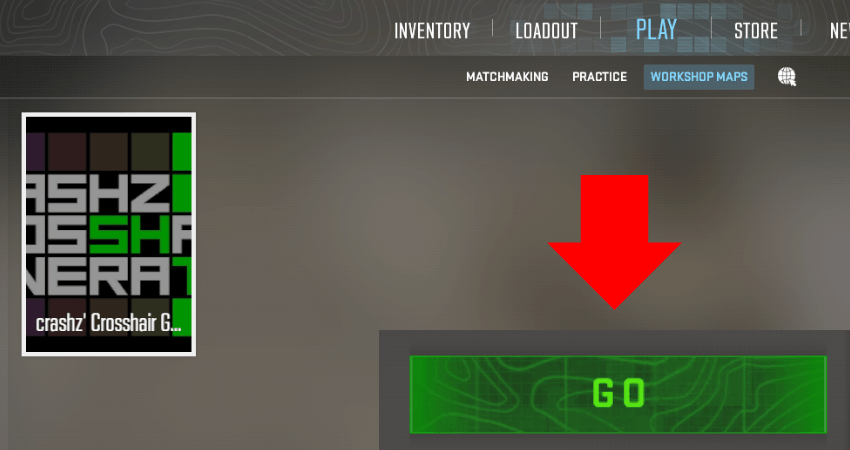
- Step 8: Check out all the settings and make changes according to your preferences.
TLDR
Conclusion
In CS2, your ability to land precise headshots highly depends on how comfortable you are with your crosshair. Fortunately, your CS2 allows you to customize the crosshair however you want. Go through the guide above to find the best crosshair settings based on your personal preferences.